Tailwind Variantsとは
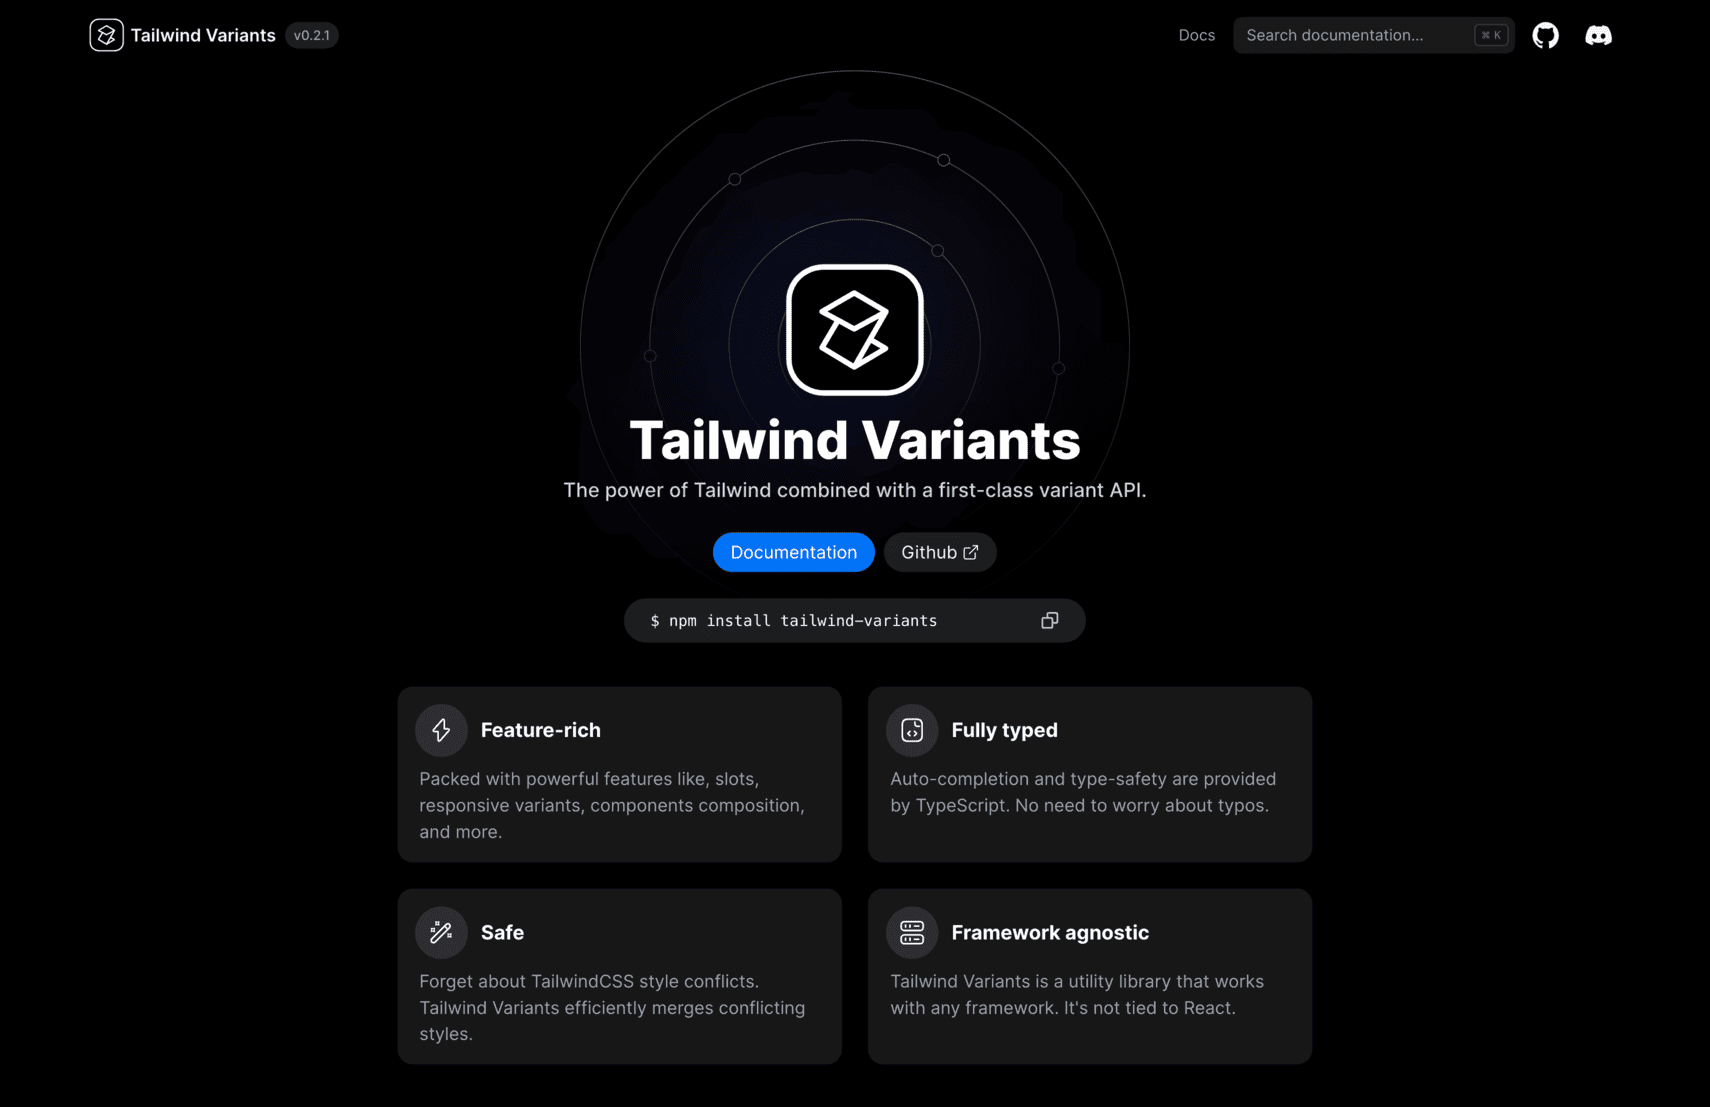
公式サイトには以下のように書かれています。
The power of Tailwind combined with a first-class variant API.
直訳すると「TailwindのパワーとファーストクラスのバリアントAPIを組み合わせました。」
これだけだと意味不明なのでコードで確認するとわかりやすいです。
Tailwind Variantsの使用例
例えばReactで以下のようなTailwind CSSでボタンを装飾して、押したら色を変えたい場合は以下のようになります。
import { useState } from 'react'

function App() {
  const [text, setText] = useState('ボタンをクリックしてください!')
  const [isClicked, setIsClicked] = useState(false)

  const handleClick = () => {
    setText('ボタンがクリックされました。')
    setIsClicked(true)
  }

  return (
    <>
      <h1>{text}</h1>
      <button className={`text-white my-4 py-2 px-4 rounded ${
        isClicked ? 'bg-gray-500' : 'bg-blue-500 hover:bg-blue-400'
      }`} onClick={handleClick} disabled={isClicked}>
        button
      </button>
    </>
  )
}

export default AppこれをTailwind Variantsを使用して書くと以下のようにVariants (変数)にCSSクラスをまとめることができるので、コードの可読性が向上します。
import { useState } from 'react'
import { tv } from 'tailwind-variants'

const button = tv({
  base: 'text-white my-4 py-2 px-4 rounded',
  variants: {
    type: {
      default: 'bg-blue-500 hover:bg-blue-400',
      disabled: 'bg-gray-500'
    },
  }
})

function App() {
  const [text, setText] = useState('ボタンをクリックしてください!')
  const [btnType, setBtnType] = useState<'default' | 'disabled'>('default')

  const handleClick = () => {
    setText('ボタンがクリックされました。')
    setBtnType('disabled')
  }

  return (
    <>
      <h1>{text}</h1>
      <button className={button({ type: btnType })} onClick={handleClick} disabled={btnType === 'disabled'}>
        button
      </button>
    </>
  )
}

export default App
className={button({ type: btnType })} になったので、かなり見た目がスッキリしました。
React + Tailwind Variantsの環境作成方法
まず、Vite + React環境を以下のコマンドで作成してインストールします。
npm create vite@latest my-tailwind-variants -- --template react-swc-tscd my-tailwind-variants
npm installTailwind VariantsやTailwind CSSなどをインストールします。
npm i -D tailwind-variants tailwindcss postcss autoprefixerTailwind CSSなどをインストールしたら、「npx tailwindcss init -p」でpostcss.config.jsとtailwind.config.jsを生成します。
npx tailwindcss init -pindex.cssは@tailwindの3行を追加して書き換えます。
@tailwind base;
@tailwind components;
@tailwind utilities;
tailwind.config.jsはtsxファイルで適用できるようにするためにcontentを追記します。
/** @type {import('tailwindcss').Config} */
module.exports = {
  content: [
    "./src/**/*.{js,jsx,ts,tsx}",
  ],
  theme: {
    extend: {},
  },
  plugins: [],
}
これだとmoduleが「'module' is not defined.」になるので、.eslintrc.cjsのenvにnode: trueを追加します。
module.exports = {
  root: true,
  env: { browser: true, es2020: true, node: true },
  extends: [
    'eslint:recommended',
    'plugin:@typescript-eslint/recommended',
    'plugin:react-hooks/recommended',
  ],
  ignorePatterns: ['dist', '.eslintrc.cjs'],
  parser: '@typescript-eslint/parser',
  plugins: ['react-refresh'],
  rules: {
    'react-refresh/only-export-components': [
      'warn',
      { allowConstantExport: true },
    ],
  },
}
以上の手順が完了したら、App.tsxでtailwind-variantsをimportして利用できるようになります。
Tailwind VariantsではSlotsやOverriding Stylesなどの便利な機能もありますので、より詳しく知りたい方は公式サイトで確認してみてください。


