mask-imageとclip-pathでアニメーション
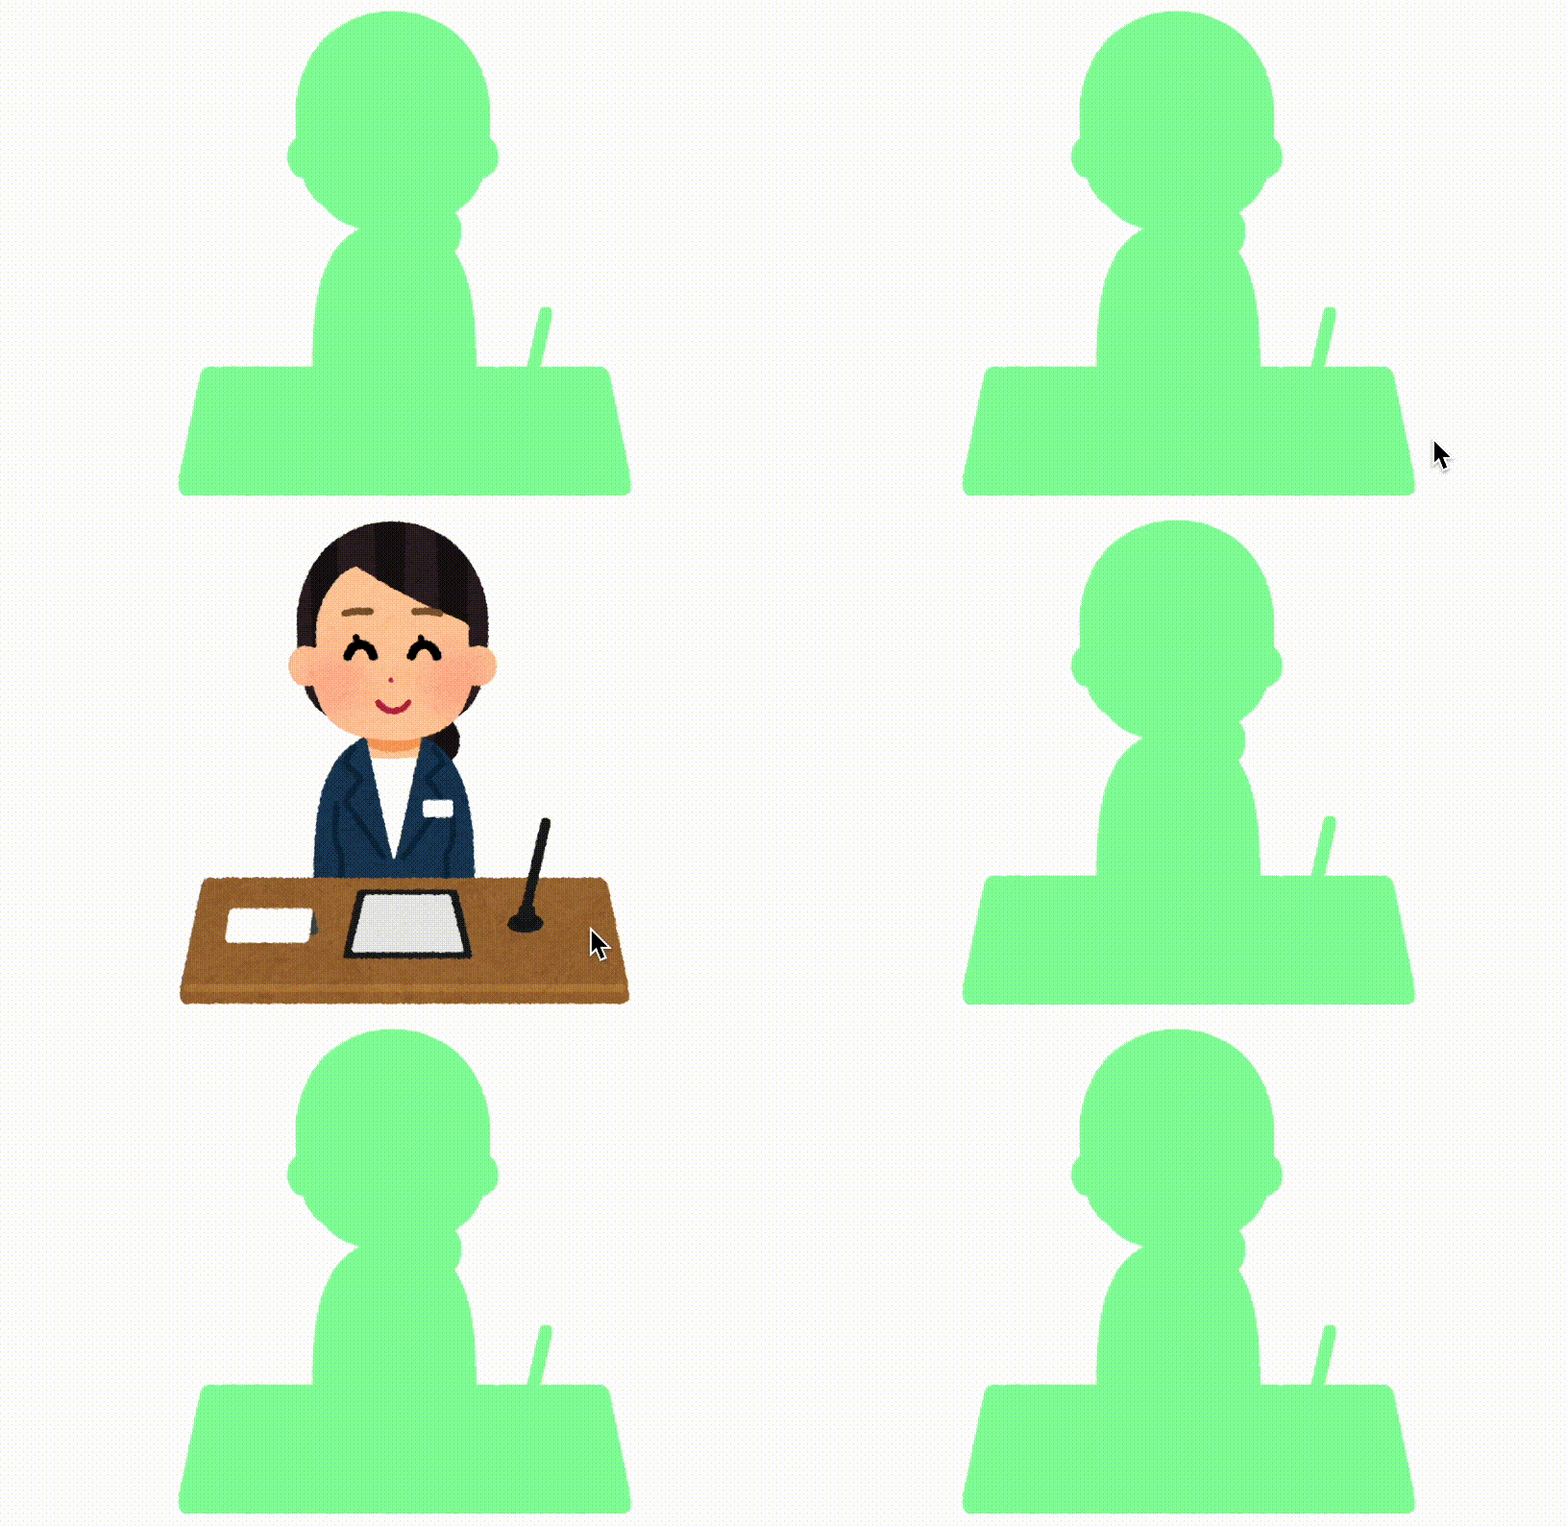
最近アニメの公式サイトでCSSのmask-imageとclip-pathの塗りつぶし画像アニメーションをよく見かけます。
例: ガンゲイル・オンラインⅡ 魔王2099 など
このようなアニメーションは一般的にはReveal Animation (リビールアニメーション) と言います。
一見すると作るのが難しそうに見えますが、CSSのmask-imageとclip-pathを使えば簡単に作成できます。
mask-imageとclip-pathを使用した作り方
まず以下のようにimgタグを.wrapperで囲んで、上に.maskedというdivを配置します。
<div class="wrapper">
  <div class="masked"></div>
  <img src="https://iwb.jp/s/img/woman.png" width="403" height="403" alt="">
</div>
次にCSSで.maskedの部分に同じ画像のmask-imgをmask-size: containで適用させて、backgroundで背景色を適用させるとReveal Animationのためのマスクができます。
あとはclip-pathなどでマスクを上から下に非表示にするアニメーションにすれば完成です。
.wrapper {
  position: relative;
  width: 403px;
  height: 403px;
}

.masked {
  position: absolute;
  inset: 0;
  width: inherit;
  height: inherit;
  background: #8cffa0;
  mask-image: url(https://iwb.jp/s/img/woman.png);
  mask-size: contain;
  clip-path: inset(0 0 0 0);
}

.wrapper:hover .masked {
  clip-path: inset(100% 0 0 0);
  transition: clip-path 0.5s
}
このサンプルではマウスオーバー時にReveal Animationになります。

同じ画像は完全にマスクされない
完成品をよく見るとマスクの周りが1px程度はみ出しています。
CSSを使用したマスクは同じ画像だと完全にマスクされないため、画像の後ろの背景色によっては縁の部分が少し見えてしまいます。
この問題はmask-imageの画像を以下のように少し大きめ(2px程度)の画像にすることで解決します。
CSSアニメーションもclip-pathで右下から左上に表示しているものに変えてみました。
<div class="wrapper-fix">
  <div class="masked-fix"></div>
  <img src="https://iwb.jp/s/img/woman-mask.png" width="403" height="403" alt="">
</div>.wrapper-fix {
position: relative;
width: 403px;
height: 403px;
}
.masked-fix {
position: absolute;
inset: 0;
width: inherit;
height: inherit;
background: #8cffa0;
mask-image: url(https://iwb.jp/s/img/woman-mask.png);
mask-size: contain;
clip-path: polygon(0 0, 100% 0, 100% 100%, 100% 100%, 0 100%);
}
.wrapper-fix:hover .masked-fix {
clip-path: polygon(0 0, 100% 0, 100% -100%, -100% 100%, 0 100%);
transition: clip-path 0.5s
}
以上のようにReveal Animationはmask-imageとclip-pathを利用すれば簡単に実装できます。
これがあると今風のオシャレでかっこいい感じの見た目になるので、機会がありましたらぜひ使ってみてください。


