react-serverとは
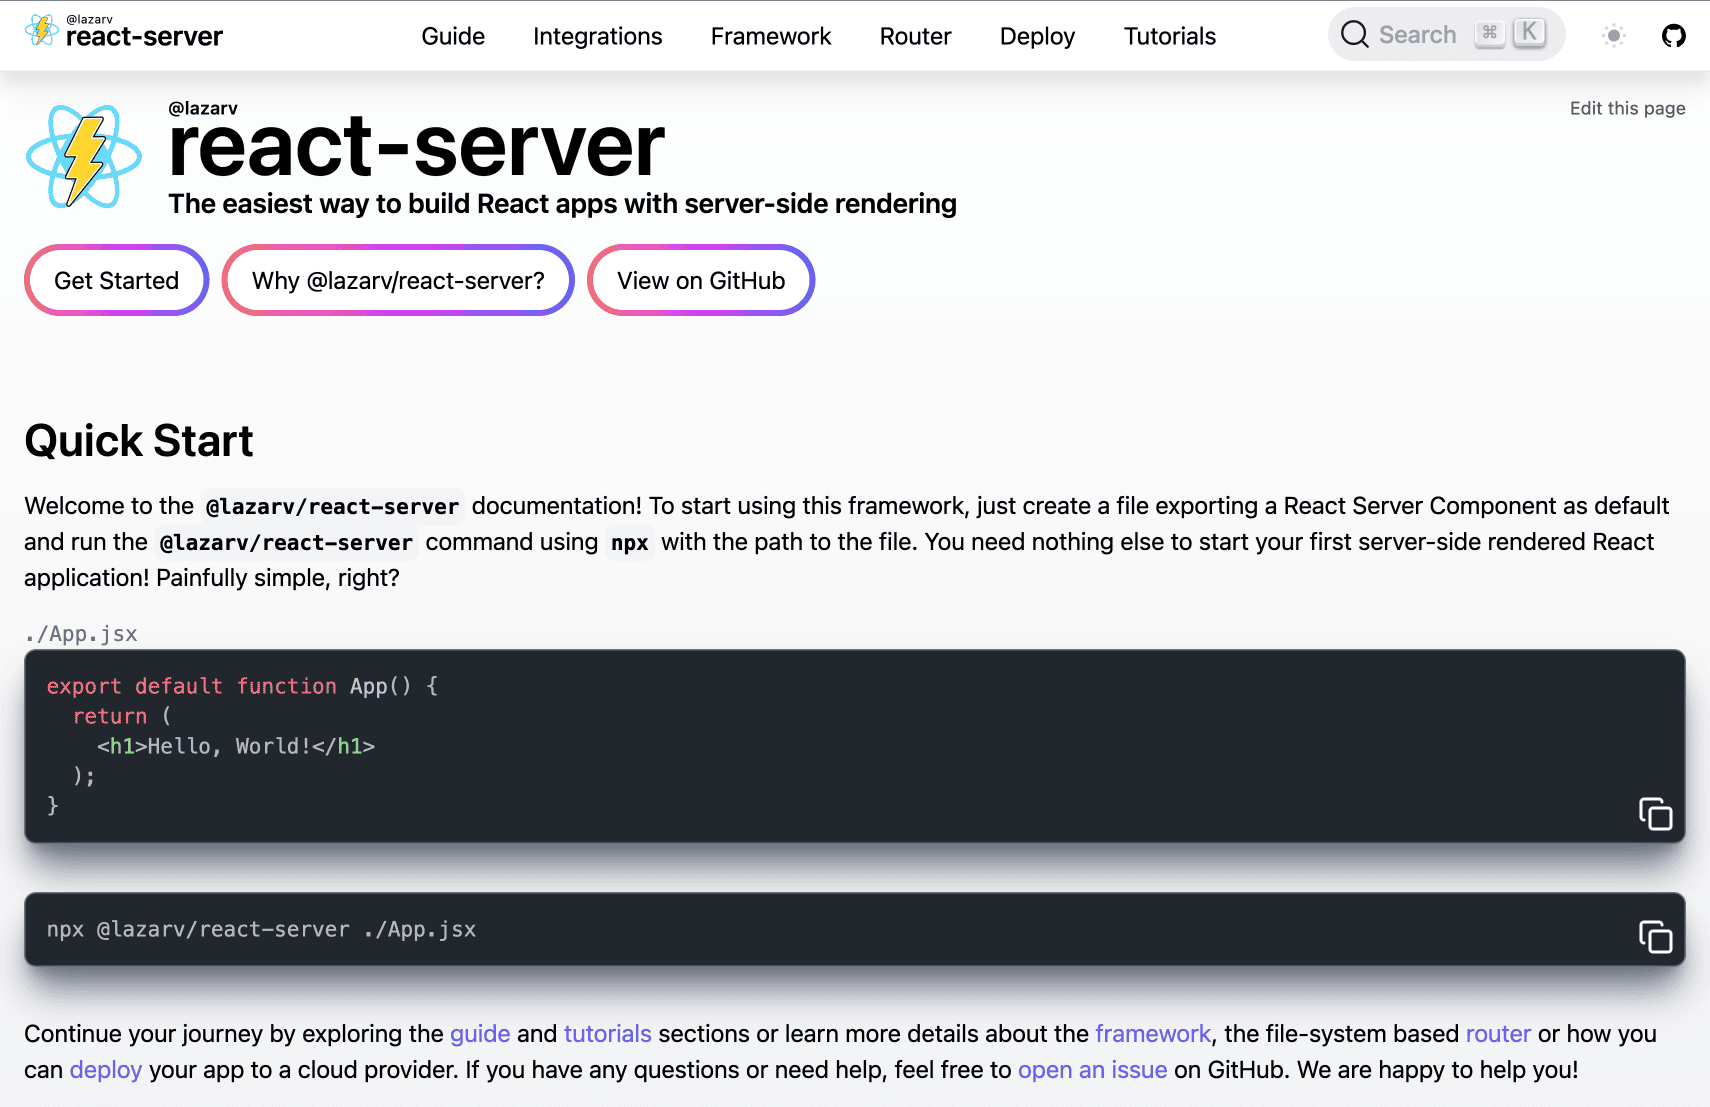
react-serverとはReact Server Componentsを扱うフレームワークです。
これを使えばReactでもNext.jsと同じように静的ページの生成などができます。
例えばReactでWebページを作成した場合は、body内のHTMLコードは以下のようになっており、h1タグなどはブラウザの「ソースを表示」では確認できません。
<div id="root"></div>しかし、react-serverを使用した場合は静的ページを生成できるので、以下のようにh1タグなどのHTMLが生成された状態になります。
<div id="root">
  <div class="App">
    <div>
      <a href="https://vitejs.dev" target="_blank">
        <img src="/vite.svg" class="logo" alt="Vite logo">
      </a>
      <a href="https://reactjs.org" target="_blank">
        <img src="/src/assets/react.svg" class="logo react" alt="React logo">
      </a>
    </div>
    <h1>Vite + React</h1>
    <div class="card">
      <button>
        count is
        <!-- -->0</button>
      <p>
        Edit
        <code>src/App.tsx</code>
        and save to test HMR
      </p>
    </div>
    <p class="read-the-docs">Click on the Vite and React logos to learn more</p>
  </div>
</div>
静的ページのWebサイトのほうが表示速度が速く、SEOにも有利です。
そのため、ReactでWebサイトを制作する場合はreact-serverを使用したほうが良いです。
react-serverの使い方
最初に以下のコマンドでReact環境を構築します。
react-swc-tsだとreact-serverは動作しないので注意が必要です。
npm create vite@latest my-react-server -- --template react-ts次に以下のコマンドでインストールと起動を実行します。
cd my-react-server
npm install
npm run dev
起動後にソースを表示すると、<div id="root"></div>のようになっており、ソースコード内にh1タグが含まれていないことが確認できます。
<div id="root"></div>起動を一旦停止して、次に以下のコマンドでreactとreact-domをアンインストールして、react-serverをインストールします。
npm uninstall react react-dom
npm install @lazarv/react-server
package.json の scripts を react-server を使用するように変更します。
{
  "name": "my-react-server",
  "private": true,
  "version": "0.0.0",
  "type": "module",
  "scripts": {
    "dev": "react-server ./src/main.tsx",
    "build": "react-server build ./src/main.tsx",
    "lint": "eslint .",
    "preview": "react-server start"
  },
  // 中略
}
TypeScriptを利用しているので、tsconfig.node.jsonのcompilerOptionsに"types": ["react/experimental", "react-dom/experimental"], を追記します。
{
  "compilerOptions": {
    "types": ["react/experimental", "react-dom/experimental"],
    // 中略
  },
  "include": ["vite.config.ts"]
}
main.tsxでAppを読み込んで以下のようにします。
カウンター以外の部分が静的になる影響でApp.cssがApp.tsxで読み込めなくなっているので、main.tsxで読みます。
import App from "./App";
import "./index.css";
import './App.css';

export default function Main() {
  return (
    <html lang="ja">
      <head>
        <meta charSet="UTF-8" />
        <link rel="icon" type="image/svg+xml" href="/vite.svg" />
        <meta name="viewport" content="width=device-width, initial-scale=1.0" />
        <title>Vite + React + TS</title>
      </head>
      <body>
        <div id="root">
          <App />
        </div>
      </body>
    </html>
  );
}
react-serverではindex.htmlは使用しないので削除してください。
App.tsxにはuseStateが使用されているので、Next.jsと同様に"use client"; を追記してください。
App.cssがApp.tsxで読み込めなくなっているので、App.cssのimportは削除しています。
"use client";
import { useState } from 'react'
import reactLogo from './assets/react.svg'
import viteLogo from '/vite.svg'

// 以下略
これらの設定が完了したら、npm run devを実行してみてください。
http://localhost:3000 でreact-serverが起動します。
portを3000ではなく6789にして、実行時にブラウザで開きたい場合は、package.jsonのscriptsのdevを以下のように設定してください。
"dev": "react-server ./src/main.tsx --port 6789 --open",Routerでルーティングを設定する方法
react-serverはRouterコンポーネントを読み込んだルーティングもできます。
やり方はRouteをインポートして、各ページのコンポーネント(例: Home, About) を読み込んで、Routeにpathとelementを指定します。
Routeにexactが付いていないと、/about/foo のような階層のURLでも/aboutと同様に表示されるので、exactを必ず付けてください。
また、各ページのRouteをRouteで囲んで、path="/" render={Layout} を指定すれば、レイアウトを適用できます。
import { PropsWithChildren } from 'react';
import { Route } from '@lazarv/react-server/router';
import Home from './Home';
import About from './About';

function Layout({ children }: PropsWithChildren) {
  return (
    <div>
      <h1>Layout</h1>
      {children}
    </div>
  );
}

export default function App() {
  return (
    <Route path="/" render={Layout}>
      <Route path="/" exact element={<Home />} />
      <Route path="/about" exact element={<About />} />
    </Route>
  );
}function Home() {
return (
<h2>Home Page</h2>
)
}
export default Homefunction About() {
return (
<h2>About Page</h2>
)
}
export default About
http://localhost:3000/

http://localhost:3000/about
Next.jsのように /about/page.tsx のようなファイル配置によるルーティングも設定次第で可能ですが、それをやるなら最初からNext.jsなら面倒な追加設定をしなくても実装できるので、Next.jsを使用したほうが良いです。


