Vue CLIでSCSSを使う
Vue CLIでSCSSを使う場合はvue init webpack-simpleの最後のUse sass?を「y」にすることでシンプルに開発環境を作成できる。
$ vue init webpack-simple my-vuejs

? Project name my-vuejs
? Project description A Vue.js project
? Author iwbjp
? License MIT
? Use sass? (y/N)
ただし、これだけではSCSSをCSSにコンパイルする際にCSSベンダープレフィックスが付かないので別途Autoprefixerのインストールとwebpack.config.jsの設定が必要だ。
Autoprefixerのインストールと設定
Autoprefixerのインストールは下記のコマンドになる。
$ npm i -D autoprefixer
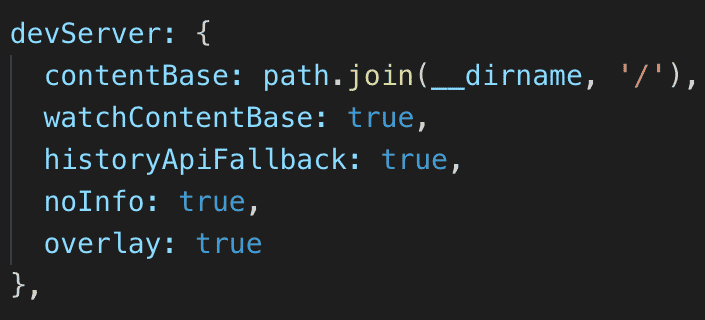
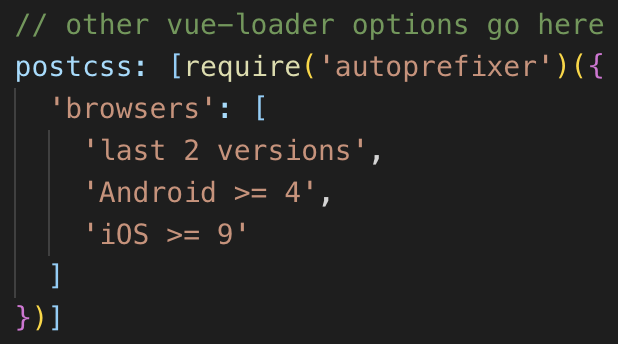
インストールが完了したらwebpack.config.jsのother vue-loader options go hereというコメントの下にAutoprefixerを使用するための記述を追加する。
// other vue-loader options go here
postcss: [require('autoprefixer')({
  'browsers': [
    'last 2 versions',
    'Android >= 4',
    'iOS >= 9'
  ]
})]
以上の手順が完了すればtransformなどのCSSプロパティに-webkit-が追加されるようになる。
<style lang="scss">
h1 {
  transform: scale(2);
}
</style>